ZeroTools Practical Guide (6 Core Browser Tasks)
A practical guide to trying six core browser tasks—character counting, image compression, HTML conversion, OCR, PDF, and CSV—using ready-to-use samples. Test operational steps, settings, and output results without affecting your own data.
Count Characters in Text Containing Emojis and Line Breaks
Verify that text containing emojis, spaces, and line breaks satisfies submission character limits under specific counting rules.
Go to Word CounterSample Input Content
Enter the sample text 'A😀 B' followed by a trailing line feed (LF).
A😀 B
"A😀 B\n"Settings and Criteria
Set counting unit to grapheme clusters. Enable counting of both whitespace and line breaks, and set the character limit to 5.
Step-by-Step Instructions
- Enter the draft text 'A😀 B' into the input field followed by a single trailing line feed (LF).
- Set the counting unit to grapheme clusters (UTF-16 code units or Unicode code points can also be selected depending on your destination's rules).
- Enable whitespace and newline counting, and set the maximum character limit to 5.
- Check the character count (5 characters), remaining count (0 characters), line count (2 lines), and byte size (8 bytes in UTF-8).
- Copy the draft and paste it into your final destination submission form to verify the character limit under the target platform's counter.
Output and Interpretation
The counter reports 5 characters, 0 characters remaining (against a limit of 5), 8 bytes in UTF-8, and 2 lines. Under UTF-16 counting, the emoji takes 2 code units for a total of 6 characters; under Unicode code points, the count is 5.
5 / 0 / 8 bytes / 2 linesConsiderations and Boundaries
When drafting text with emojis or compound characters, choose the counting unit required by your target platform. Platform-specific weighting rules (such as custom tweet lengths) are not automatically applied by generic character limits.
Troubleshooting and Recovery
If your character count does not match the count reported by your submission platform, verify whether the destination counts by grapheme clusters, UTF-16 code units, or code points, and whether whitespace and line breaks are included. Always perform your final check inside the destination submission form.
Compress Image to Target Size
Compress an image to a target file size of 100 KB or less, adjusting it to a JPEG file with a maximum edge of 1200 px.
Go to Image CompressorSample Input Content
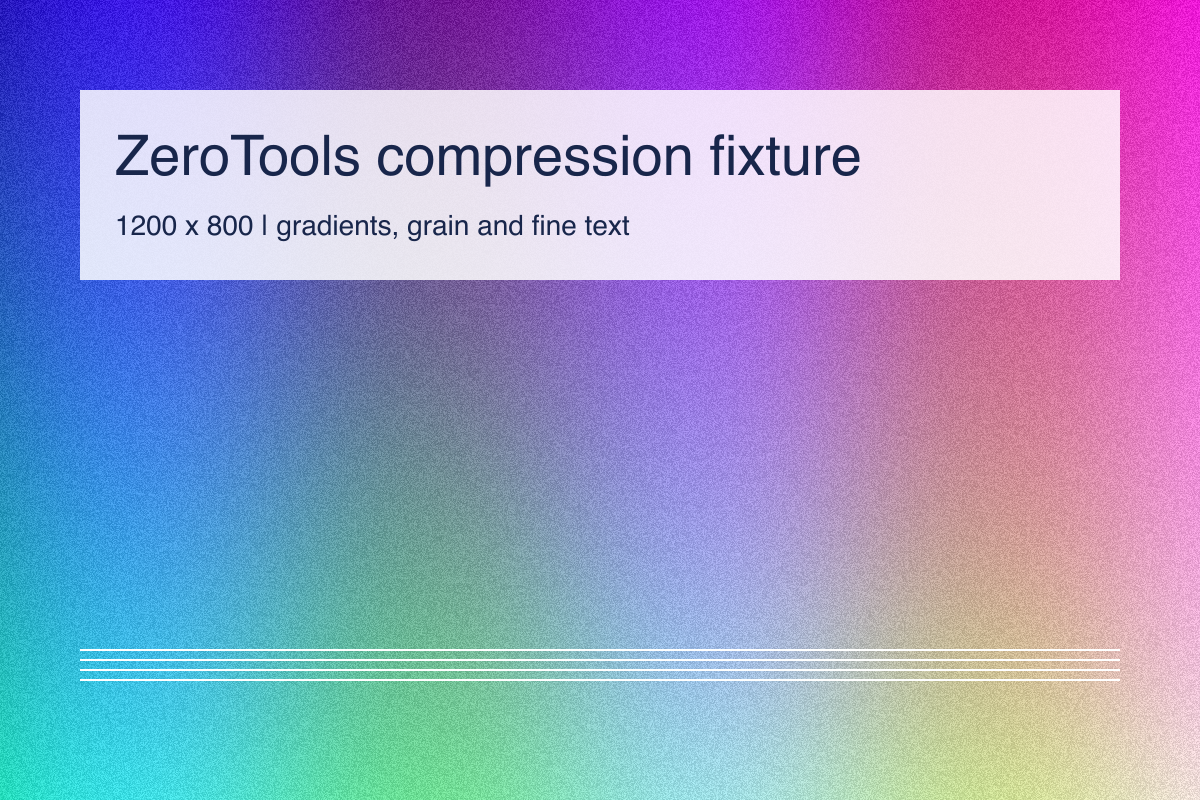
A sample 1200×800 px PNG image (2,526,322 bytes) containing color gradients and fine text.
PNG · 1200 × 800 · 2,526,322 bytesSettings and Criteria
Select JPEG format, set target file size to 100 KB, and set maximum long edge to 1200 px (note that 1 KB is calculated as 1000 bytes in this tool).
Step-by-Step Instructions
- Download the sample PNG image file (1200×800 px) to your computer.
- Open the Image Compressor tool and load the downloaded sample image.
- Select JPEG format, enter 100 KB as the target size, and set the maximum long edge to 1200 px.
- Click the Compress button to process the image, then review the resulting file size and dimensions.
- Click Download to save the compressed JPEG file to your computer.
Output and Interpretation
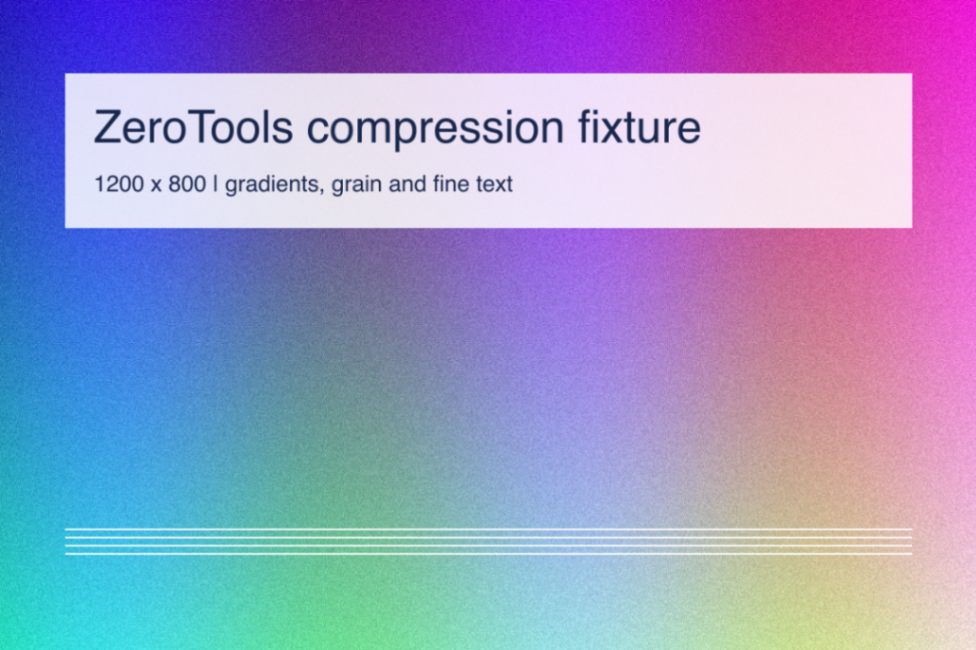
The compressed output resulted in 75,379 bytes at 976×650 px, fitting within the 100 KB limit. For reference with the same source image, Squoosh (MozJPEG quality 70) produced 91,405 bytes (1200×800 px), and JPEGOptimizer (quality 70, 100 kB limit, 1200 max edge) produced 91,182 bytes (1140×760 px). Because each tool uses different compression algorithms and scaling heuristics, these numbers provide reference points rather than a direct quality ranking.
Considerations and Boundaries
To meet the strict target size, the pixel dimensions were reduced to 976×650 px in this example. Depending on the image, dimensions may be scaled down or fine details may soften, requiring a balance tailored to your use case.
Troubleshooting and Recovery
Inspect the fine text in the compressed image. If details look blurry, relax your target file size (e.g., to 150 KB) or increase the maximum edge limit, and reprocess starting from the source image. Always preserve your original high-resolution file.
Convert Plain Text to HTML Paragraphs
Convert plain text paragraphs into standard HTML paragraph (<p>) tags while escaping special characters.
Go to Text to HTML ConverterSample Input Content
A text draft containing 'A < B', an empty line, and 'Hello'.
A < B

Hello
Settings and Criteria
Set conversion direction to Text to HTML. Leave both auto-linking and list formatting options turned OFF.
Step-by-Step Instructions
- Open the Text to HTML Converter and ensure the conversion direction is set to Text to HTML.
- Turn OFF both the auto-linking and list formatting options.
- Paste or type your draft text into the input field; conversion runs automatically without clicking a convert button.
- Inspect the generated HTML code in the output box and preview the rendered layout in the preview area.
- Click the Copy button to copy the clean HTML code to your clipboard.
Output and Interpretation
Generates '<p>A < B</p>', an empty line, and '<p>Hello</p>'. Characters like '<' are automatically converted to HTML entities ('<'). Check both the generated code and the rendered preview before copying.
<p>A < B</p>
<p>Hello</p>Considerations and Boundaries
Use Markdown to HTML when your content includes structured headings, lists, or emphasis formatting. Choose Text to HTML for simple paragraph wrapping or text extraction. While the tool's preview sandbox prevents script execution, copied HTML does not retain sandbox protection when embedded in your own site.
Troubleshooting and Recovery
The Text to HTML tool converts automatically as you type. Switching conversion directions swaps the input and output contents, and round-trip conversion does not completely restore original formatting or spacing structures; always keep a backup of your original text before switching.
Japanese Image Text Recognition (OCR)
Extract text from images, proofread the content, and save the result using clear and scaled image samples.
Japanese Image Text Recognition (OCR)Sample Input Data
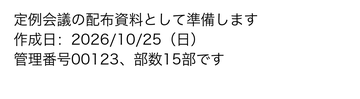
定例会議の配布資料として準備します
作成日:2026/10/25(日)
管理番号00123、部数15部です

Configuration Settings
Click the 'Japanese' language button (loading the sample automatically sets the language to Japanese).
Step-by-Step Instructions
- Open the OCR tool. The 'Japanese' language button is automatically selected when loading sample buttons like 'Load Clear Japanese Image Sample'.
- Click 'Load Clear Japanese Image Sample', then click 'Extract Text' once the image is loaded to start recognition.
- Compare the displayed text with the original image to check numbers, dates, whitespace, and punctuation.
- If needed, click 'Load Reduced Japanese Image Sample' and press 'Extract Text' to compare results under different resolutions.
- Directly edit the result text area in the tool to correct misread characters or unnecessary spaces (measured benchmark files retain the unedited raw output).
- After proofreading, click Copy to retrieve the text to your clipboard, or click Download to save the corrected text as a .txt file.
Processing Results
When recognizing clear (1200x330) and scaled-down (360x99) Japanese text images, both unedited raw outputs produced identical 3-line Japanese text. In raw recognition output, extra whitespace or altered punctuation marks may appear. You can proofread and edit these misreadings directly within the in-tool result field before copying or saving the text.
clear.png → clear-output.txt
定例 会 議 の 配布 資料 と し て 準備 し ます
作成 日 : 2026/10/25 (日 )
管理 番号 00123、 部 数 15 部 で す
reduced.png → reduced-output.txt
定例 会 議 の 配布 資料 と し て 準備 し ます
作成 日 : 2026/10/25 (日 )
管理 番号 00123、 部 数 15 部 で す
Operational Caveats and Boundaries
On first run, the browser downloads the OCR processing engine and language model data. Recognition accuracy depends on image resolution, font style, and background contrast.
Troubleshooting and Retry Steps
Recognition output can be edited and proofread directly within the in-tool result text area. Correct any misread characters or extra whitespace in the result field before copying or saving as a .txt file. If misreadings are frequent, provide a higher-resolution source image.
PDF Merge and Page Extraction
Merge two PDF files into one and extract specific pages using two single-page samples.
PDF Merge and Page ExtractionSample Input Data
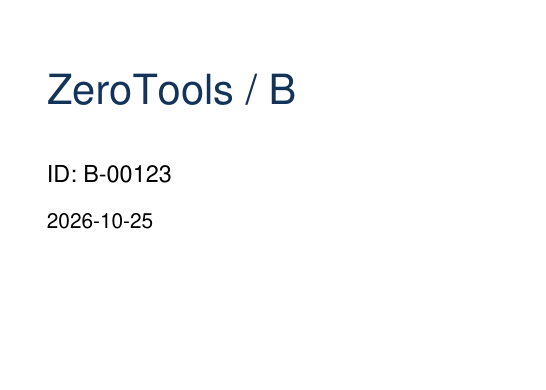
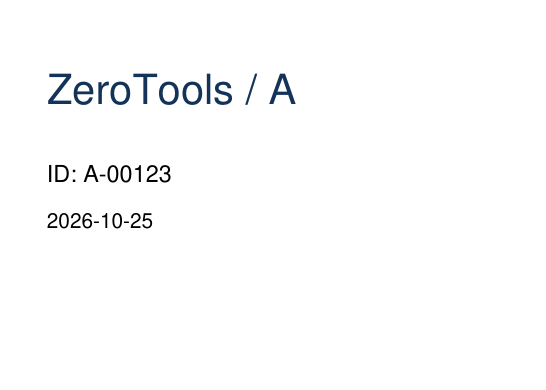
A.pdf · B.pdf / 1 page
Configuration Settings
Merge order: Document B followed by Document A (loaded together via the sample button). Extraction target: page 2.
Step-by-Step Instructions
- Open the 'PDF Merge' tab and click 'Load PDF Sample (B then A)' to load Document B and Document A in sequence with a single click.
- Click the merge button and download the resulting 2-page merged PDF file.
- Switch to the 'Extract Pages' tab and load the 2-page merged PDF you just downloaded.
- Enter '2' in the page selection field to target Document A.
- Click the extract button and download the resulting single-page PDF file.
Processing Results
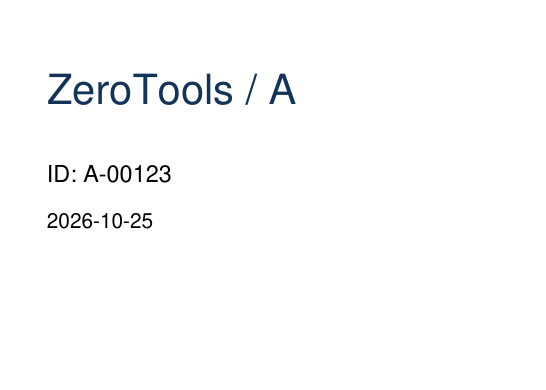
Merging single-page documents B and A produced a 2-page PDF in B-then-A order, and extracting page 2 yielded a clean 1-page document containing Document A. Because the source PDFs are simple alphanumeric documents, advanced features such as interactive forms, digital signatures, and encryption were not present in this sample and were outside the scope of confirmation.
Download / Save
Operational Caveats and Boundaries
Password-protected or damaged PDFs are not supported. While thumbnail dragging and automatic batch splitting are not available, you can reorder pages by entering custom page sequences (such as '2,1') in the 'Extract Pages' tool.
Troubleshooting and Retry Steps
Always keep your original PDF files safe. If page ordering looks incorrect, check the page numbers in an external viewer and re-run the extraction with the corrected page number. Password-protected or damaged files cannot be processed.
Excel to CSV Conversion and Re-import
Export a selected sheet from Excel to CSV and convert it back to Excel format using a multi-sheet sample.
Excel to CSV Conversion and Re-importSample Input Data
two-sheets.xlsx / Data · Other
Configuration Settings
In the 'Excel to CSV' tab, select the 'Data' sheet and set delimiter to comma (output UTF-8 with BOM is fixed). In the 'CSV to Excel' tab, select UTF-8 encoding.
Step-by-Step Instructions
- In the 'Excel to CSV' tab, load the sample Excel file, select the 'Data' sheet, and confirm the delimiter is comma (output UTF-8 with BOM is fixed).
- Click 'Download CSV' to save the generated CSV file to your computer.
- Switch to the 'CSV to Excel' tab (note that inputs are reset when switching tabs).
- Select UTF-8 encoding and load your downloaded CSV file.
- Click 'Download Excel (.xlsx)' to convert and save the data as an Excel file (note that multiple sheets and formatting are not restored).
Processing Results
From the 2-sheet Excel sample, selecting the 'Data' sheet and converting to comma-delimited UTF-8 (with BOM) CSV, then re-importing the CSV converted it to XLSX. In this sample, all 9 cell values of the 3x3 table matched—including numeric strings like '00123' and '00456', Japanese characters, commas, quotes, and multiline cell breaks. Only the selected sheet is exported; formatting, formulas, and unselected sheets are not carried over.
| ID | Text | Note |
|---|---|---|
| 00123 | 日本語 | カンマ,引用符"確認" 改行 |
| 00456 | 資料 | 2026/10/25 |
Operational Caveats and Boundaries
CSV files store raw text values for one chosen sheet only; formulas, cell formatting, charts, and multiple sheets are not retained. Opening a CSV directly in spreadsheet software may drop leading zeros due to default type inference; verify by converting it back with the re-import tool.
Troubleshooting and Retry Steps
Always keep your source Excel file intact. If characters appear garbled, ensure UTF-8 encoding is selected upon re-import. Converting a CSV back to Excel does not restore multiple sheets, cell formatting, or formulas; use dedicated spreadsheet software if you need column restructuring or formula recalculation.